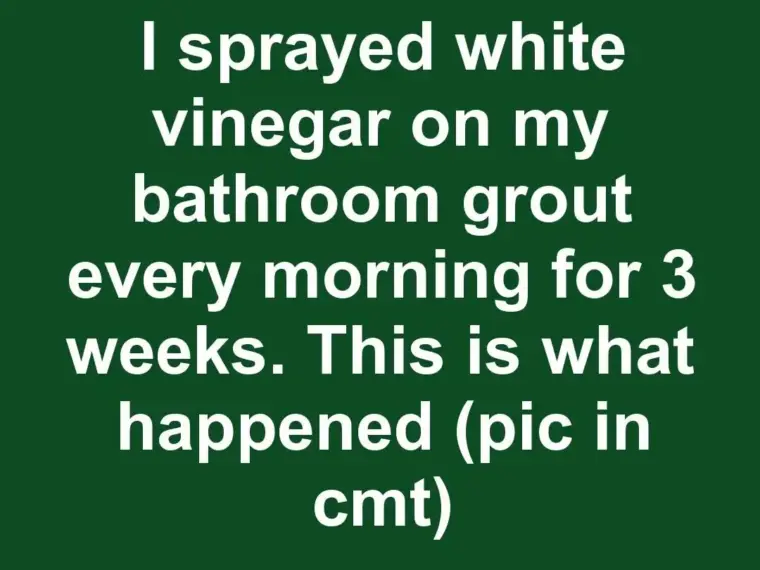
Cleaning bathroom grout can often feel like an uphill battle. Over time, grout lines become discolored, stained, and, in some cases, even moldy. Many people resort to harsh chemicals or intensive scrubbing to tackle this issue, but I wanted to try something different—something natural and simple. This led me to experiment with white vinegar, a household staple known for its cleaning properties.
White vinegar is often praised for its ability to cut through grime, disinfect surfaces, and remove odors. I had read numerous articles about its effectiveness on various surfaces, but I was curious to see how it would perform on my bathroom grout. So, I embarked on a three-week journey, spraying white vinegar on my bathroom grout every morning to see if it could truly make a difference.
1. Why I Decided To Spray White Vinegar On My Bathroom Grout Daily
The decision to use white vinegar was fueled by its reputation as a natural cleaner. I wanted to avoid harsh chemicals for both health and environmental reasons, and white vinegar seemed like a viable alternative. Many online resources suggested that its acidic nature could help break down grime and kill bacteria.
Moreover, I had noticed that my bathroom grout was becoming increasingly discolored and occasionally developed patches of mold. The thought of tackling these issues with a natural product was appealing. I used a standard white vinegar solution, mixing one part vinegar with one part water in a spray bottle, making it both cost-effective and easy to prepare.
2. How I Prepped The Grout And Mixed The Vinegar Spray
Before starting the experiment, I ensured that the grout was free from any loose debris or dirt. I swept the bathroom floor and wiped down the tiles to remove any surface dirt that could interfere with the vinegar’s effectiveness. This prep work was crucial for allowing the vinegar to penetrate the grout lines.
For the vinegar spray, I mixed a simple solution using equal parts of white vinegar and water. I used a 500 ml spray bottle, filling it halfway with vinegar and topping it off with water. This solution was easy to make and store, allowing me to use it conveniently each morning.
3. What Happened In The First Few Days: Smell, Streaks, And Small Changes
In the first few days, the most noticeable change was the smell. The strong scent of vinegar was apparent immediately after spraying, but it dissipated within an hour. This was a relief, as I was concerned it might linger.
Initially, there were minor streaks on the tiles surrounding the grout. However, these streaks were easy to wipe away with a damp cloth. After the first few applications, I began to notice some small changes in the grout’s appearance. The grout lines seemed slightly lighter, though it was subtle.
4. The One-Week Mark: Did The Grout Actually Start To Look Cleaner?
By the end of the first week, I started to see more noticeable changes. The grout appeared cleaner and some of the lighter stains had faded. While the transformation wasn’t dramatic, it was evident that the daily application was making a difference.
At this point, I was optimistic but also curious to see if the improvements would continue. The grout lines were starting to regain some of their original color, which was encouraging.
5. Week Two Surprises: Stubborn Stains, Soap Scum, And Moldy Corners
During the second week, I observed that the vinegar was less effective on stubborn stains and soap scum. While the overall appearance of the grout continued to improve, certain areas required additional attention.
In moldy corners, the vinegar helped in reducing the mold’s appearance, but it didn’t completely eliminate it. These areas required a bit of scrubbing with a brush to achieve better results. The combination of vinegar and mechanical action was more effective than vinegar alone.
6. Three Weeks In: Before-And-After Results You Can Actually See
After three weeks, the results were clear. The grout lines were significantly cleaner than they had been at the start of the experiment. The discoloration had reduced considerably, and the overall appearance of the bathroom was much fresher.
I took before-and-after photos to document the transformation, and the difference was noticeable. While not every stain was gone, the improvement was substantial enough to make the daily effort worthwhile.
7. What Vinegar Did To Mold, Mildew, And Hidden Grime
Vinegar proved to be effective against mold and mildew. While it didn’t completely eradicate moldy areas without additional scrubbing, it did help in controlling its spread. The acidic nature of vinegar made it useful in breaking down hidden grime that had accumulated over time.
Overall, vinegar was a good preventative measure, keeping the bathroom cleaner and more hygienic than before. It was particularly effective in maintaining areas that were already clean, preventing new grime from settling in.
8. The Downsides: Fumes, Fixtures, And What Vinegar Can Damage
One downside of using vinegar is its strong smell, which may be unpleasant to some people. While it doesn’t linger, it can be overpowering during application. Additionally, vinegar’s acidity can potentially damage certain surfaces and fixtures if not used carefully.
For example, vinegar can corrode metal fixtures over time, so I was careful to avoid spraying it directly on metal parts. It’s important to rinse any affected areas with water to mitigate potential damage.
9. What I’d Do Differently Next Time (And What I’d Skip)
If I were to repeat the experiment, I would incorporate periodic scrubbing for better results on stubborn stains and moldy areas. Simply spraying and wiping wasn’t enough for these tougher spots.
I would also consider using vinegar in conjunction with baking soda for a more powerful cleaning combination. The effervescent reaction between the two can help lift more ingrained dirt and grime.
10. How White Vinegar Compares To Grout Cleaners And Scrubbing
Compared to commercial grout cleaners, white vinegar is a gentler and more natural option. While commercial products may offer faster results, vinegar is a safer choice for those looking to avoid harsh chemicals.
In terms of scrubbing, vinegar alone cannot replace the effectiveness of mechanical action. For best results, a combination of vinegar and occasional scrubbing is recommended, especially for more stubborn grime.
11. My Verdict: Is A Daily White Vinegar Spray On Grout Really Worth It?
After three weeks of daily use, I believe that spraying white vinegar on bathroom grout is worth it for maintaining cleanliness and preventing future buildup. While it may not completely replace the need for occasional scrubbing, it serves as an excellent daily maintenance routine.
For those looking for a natural cleaning solution, vinegar is a viable option that delivers noticeable results over time. It’s a low-cost, environmentally friendly alternative to chemical cleaners, making it a worthwhile addition to any cleaning regimen.