A red currant bush is one of the most generous plants you can have in a garden. It produces heavy clusters of bright berries year after year, it handles cold winters without fuss, and it is incredibly easy to multiply. You do not need to buy a single new plant. A few branches from a healthy bush, a pair of pruning shears and some bare soil are enough to start a whole row.
The method is called hardwood cuttings. You take woody, dormant shoots in autumn, push them into the ground, and let the plant do the rest over winter and spring. Here is how to do it from start to finish.
When to take the cuttings
The best time is in autumn, after the leaves have dropped and the bush has gone dormant. In most temperate climates that means late October through November. The shoots are hard and woody, the plant is not growing, and the cuttings lose very little energy while they wait to root.
You can also do it in late winter, as long as the ground is not frozen and the buds have not started to swell. Autumn usually gives better results, because the cuttings start forming roots as soon as the soil warms in spring.
Choosing the right shoots
Take your cuttings from a healthy, productive bush that has a good history of fruiting. A cutting is a copy of its mother plant, so if the bush is weak or sickly, the new plants will be too.
Look for:
- Straight shoots from the current year’s growth
- Thickness about the same as a pencil
- Firm, well ripened wood with a brown color
- Plenty of visible buds along the stem
- No signs of disease, spots or damage
Skip very thin, soft or twisted shoots, and anything with dead tips or mold.
What you need
- Clean, sharp pruning shears
- A bucket for collecting the shoots
- Gloves
- A garden string and two stakes to mark the row
- Loose, well drained soil
- Mulch such as dry leaves or straw (optional)
Step 1: Collect the shoots
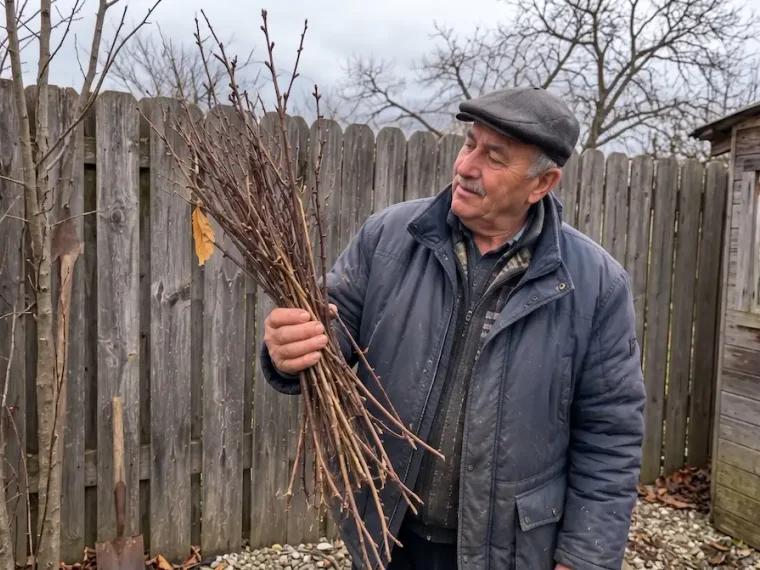
Cut the longest, straightest shoots from the bush, as close to the base as possible, and bundle them together. Do the work on a dry day and keep the shoots out of the sun and wind so they do not dry out.
If you cannot plant right away, stand the bundle upright in a bucket with a few centimeters of water, or wrap it in a damp cloth. Plant within a day or two for the best results.
Pruning the bush at the same time is a bonus. Removing some of the older wood helps the plant produce better fruit next season, so you are doing two jobs at once.
Step 2: Cut the shoots into pieces
Put the shoots on a stump or a cutting board and cut each one into pieces about 20 to 25 centimeters long. Each piece should have at least 4 to 5 buds.
Make the cuts carefully:
- Cut straight across at the top, just above a bud
- Cut at a slant at the bottom, just below a bud
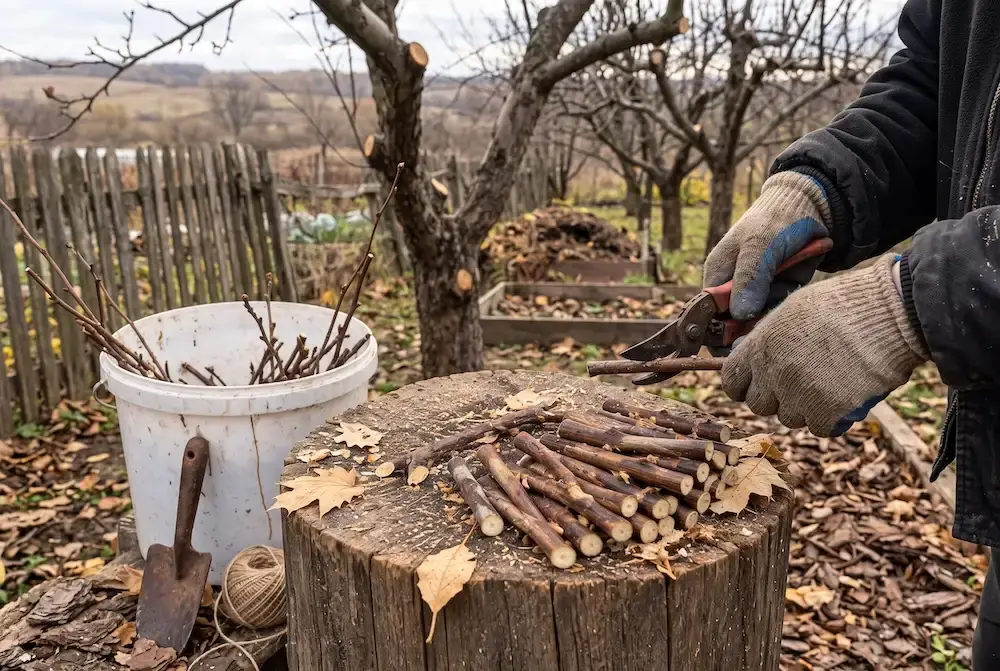
The two different cuts help you remember which end goes up, and that matters, because a cutting planted upside down will not grow. Discard the thin, soft tip of each shoot, since it rarely roots well.
Keep the pieces together in a bucket and label them if you are working with more than one variety.
Step 3: Prepare the planting row
Choose a spot with good light and soil that drains well. Red currants like a bit of shade in hot summers, but they need sun to fruit properly. Avoid places where water collects, because wet soil makes cuttings rot.
Loosen the soil with a fork and remove stones and roots. Stretch a string between two stakes to mark a straight line. This keeps the row neat and makes it easy to find the cuttings later when leaves cover the ground.
Step 4: Plant the cuttings
Push each cutting into the soil along the string, slanted end down, so about two thirds of it is underground. That leaves one or two buds above the surface. Space them 10 to 15 centimeters apart in the row.
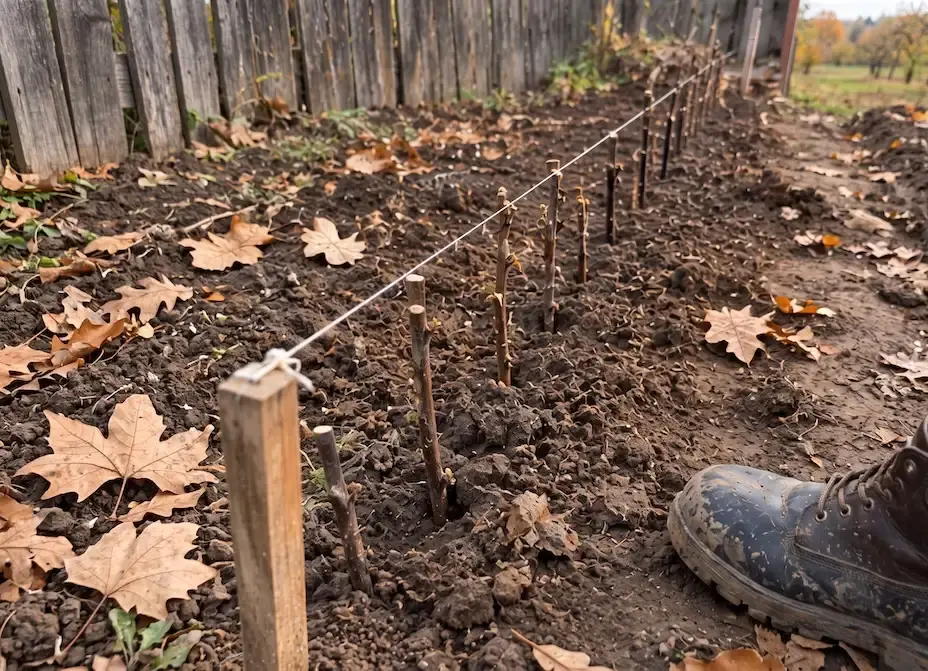
If the soil is hard, make a hole first with a stick or a dibber so you do not damage the bark. Then press the soil firmly around each cutting with your fingers. Air pockets around the base are the most common reason cuttings fail.
Water lightly after planting to settle the soil, unless it is already wet.
Step 5: Protect over winter
Cuttings do not need much attention in winter. A light layer of mulch over the soil helps keep the ground from freezing and thawing repeatedly, which can push cuttings up and out of the soil. If that happens, simply press them back down.
Do not water through winter unless it is unusually dry. The cuttings are dormant and need very little.
Step 6: Watch them wake up in spring
When the weather warms, buds at the top will open and small green leaves will appear. This is the first sign that the cutting has started to root, though leaves alone do not guarantee strong roots. Be patient and keep the soil lightly moist through spring and summer.
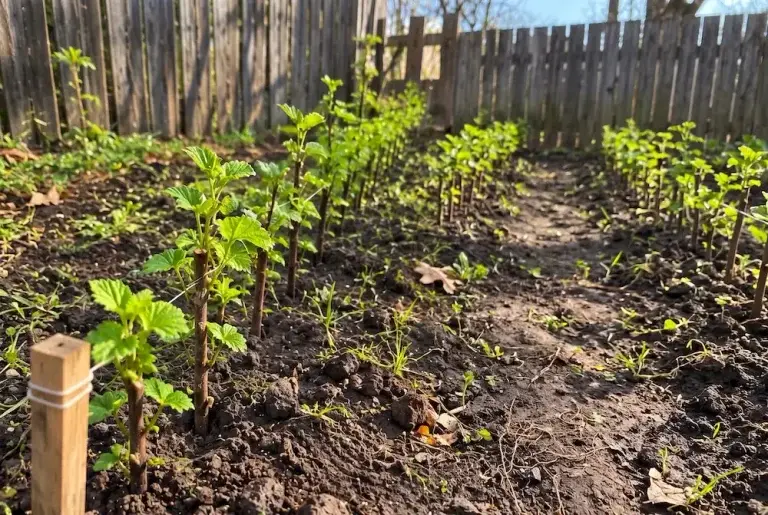
Pull weeds by hand so they do not compete with the young plants. Pinch off any flower buds in the first year so the cutting puts its energy into roots.
By the end of the first growing season, most healthy cuttings will have developed a good root system and several shoots.
When to transplant
Leave the young plants where they are until the following autumn, or early spring if you prefer. Then dig them up carefully with plenty of soil and move them to their permanent spot, about 1 to 1.5 meters apart. Water well after transplanting.
You can expect the first berries in two to three years, and full harvests after that.
Common mistakes to avoid
Taking soft or thin shoots. They dry out and rot instead of rooting.
Planting upside down. Always remember the flat cut on top and the slanted cut at the bottom.
Leaving air gaps in the soil. Press the ground firmly around each cutting.
Overwatering. Cuttings sitting in soggy ground will rot before they ever grow roots.
Expecting every cutting to succeed. Red currant roots well, but not every piece will take. Plant a few extra and you will end up with enough.
Growing red currant from cuttings costs nothing and takes less than an hour. A single bush can give you a whole row of new plants, or a few to give away to neighbors and friends. Start this autumn, mark your row clearly, and by next year you will have a young plantation growing where there was only bare soil.