Step-by-Step Guide to Making Concrete Cup Seedling Pots
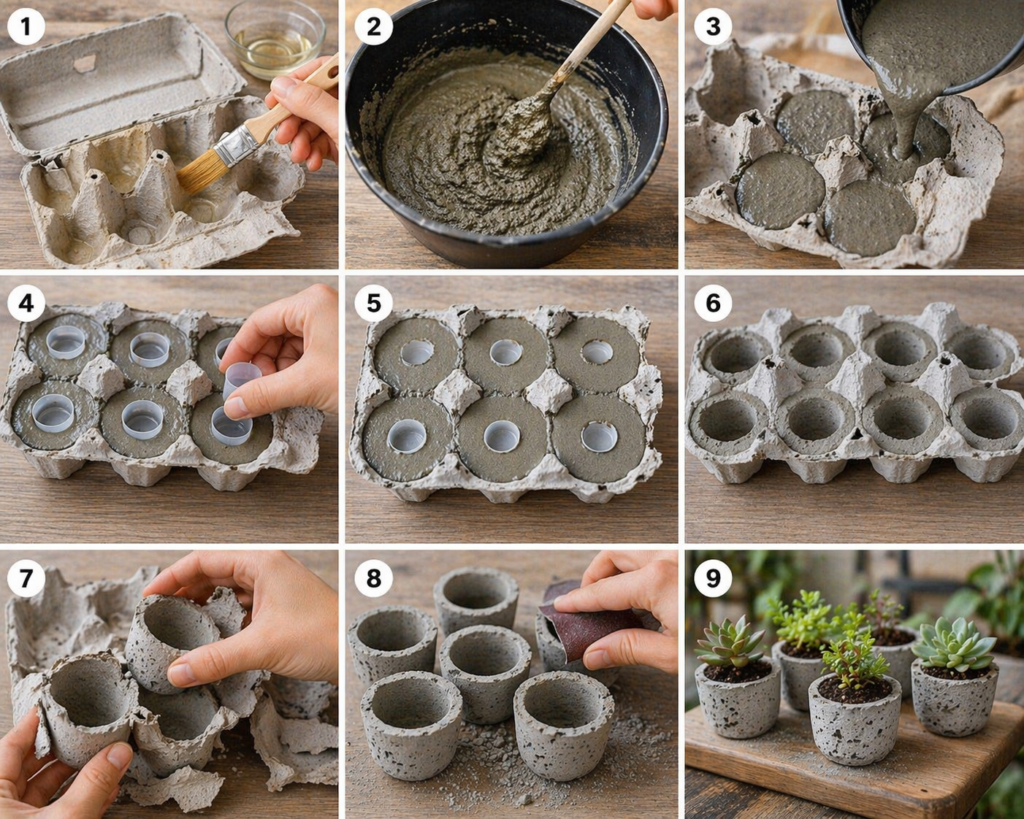
Step 1: Prepare the Egg Cartons
Open your egg carton and cut it into sections if needed. Each egg slot will act as an individual mold.
Lightly coat the inside of each compartment with cooking oil or petroleum jelly. This step is essential to prevent the concrete from sticking.
Step 2: Mix the Concrete
In a container, mix your concrete with water according to the instructions on the package.
You’re aiming for a thick, smooth consistency—similar to pancake batter but slightly heavier.
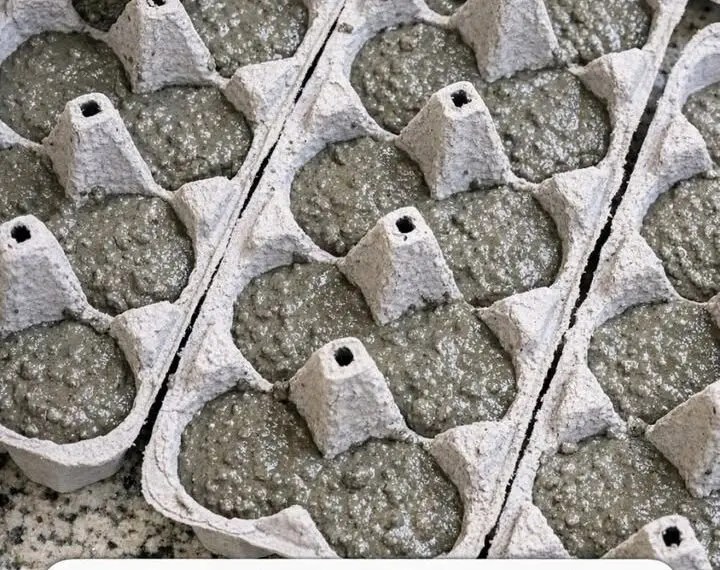
Step 3: Pour the Concrete
Carefully pour the mixture into each egg slot. Fill them about ¾ full.
Tap the carton gently on a flat surface to remove air bubbles. This helps create a smoother finish.
Step 4: Shape the Cups
To create space for your seedlings:
- Press a small object (like the bottom of a plastic cup or bottle cap) into the center of each filled slot
- This forms a hollow cavity where soil and seeds will go
Make sure the object is centered and not touching the bottom.
Step 5: Let It Set
Allow the concrete to cure for at least 24–48 hours. Keep it in a dry, stable place.
Avoid moving it during this time to prevent cracks or uneven shapes.
Step 6: Remove the Mold
Once fully dry, gently tear away the egg carton.
You’ll reveal beautifully textured concrete cups with a natural, rustic pattern left by the carton material.
Step 7: Finishing Touches
- Sand rough edges if needed
- Rinse off any residue
- Add paint or sealant for a polished look (optional)
The Final Result: Beautiful Concrete Seedling Cups

What you get at the end is surprisingly elegant:
- Small, sturdy concrete cups
- Perfect for succulents, herbs, or seedlings
- A natural, earthy texture that fits any décor
- Completely handmade and unique
Place them on a windowsill, garden table, or even gift them—they look high-end despite costing almost nothing.
Creative Ideas to Customize Your Cups
Take your project further with these ideas:
- Paint the edges gold for a luxury touch
- Add drainage holes for better plant health
- Use colored concrete pigments
- Group multiple cups on a tray for a mini garden
- Label each cup with plant names
Tips for Best Results
- Use thick cardboard cartons for better texture
- Don’t add too much water to the concrete—it weakens the structure
- Always allow full curing time before removing the mold
- Work on a protected surface (concrete can be messy)
Final Thoughts
This DIY proves that creativity can turn the simplest materials into something truly impressive. With just egg cartons, concrete, and a few basic supplies, you can create stylish, functional seedling cups that look like they came from a designer store.
It’s affordable, eco-friendly, and incredibly satisfying—once you try it, you’ll want to make more.